Guide to Plastic Free, Non Toxic, Ecofriendly Breastmilk Storage
It’s finally here! My guide to plastic free breastmilk storage. Ever since I announced that I was pregnant, I started getting questions about how to store breastmilk plastic free. Now that I’m 9 months into breastfeeding my #lowwastebaby, I’m ready to share my top tips for how we’ve successfully avoided using plastic breastmilk storage bags!
Before we dive in, let’s start with the most important tip - you do what works for you. There are many obstacles we face when breastfeeding and not all of my suggestions will work for you. That’s totally okay! The best part about this guide (and all my resources) is that you can take in the information and then decide whether you want to try it! No judgment.
Why avoid plastic when storing breastmilk:
In general, I avoid plastic as much as possible for health and environmental reasons. From the health perspective, the chemicals in plastic can leach into the food/milk stored in that plastic especially when the food/milk is heated. When we then consume the food/milk we (and our babies!) consume the chemicals. The chemicals, including BPA and phthalates, have been linked to many health issues, including endocrine disruption and cancer. It’s not good enough that most plastic containers and bags nowadays are BPA free- other bisphenols and chemicals are still present and still pose a danger to our health!
From an environmental perspective, single use plastic is clogging up our waterways and our landfills. We use single use plastic for such a short period of time and yet it lives in our environment for hundreds if not thousands of years. And, because plastic never actually breaks down, rather it breaks into smaller and smaller pieces, all plastic contributes to the massive problem of microplastics.
By storing breastmilk without using plastic, we can protect the health of our precious babies while at the same time protect our environment!
Let’s get to it!
Here’s my step-by-step guide to plastic free breastmilk storage!
Step 1: “Mise En Place” aka Setting Up
Grab your pump, all pump parts, a pumping bra (not necessary, but recommended for ease!), and storage container (see below for options).
I use the Spectra S1 pump. I highly recommend getting a pump with a built-in battery, if possible. The cost of my pump was covered by insurance, but I paid extra for the S1 model. Having portability with my pump is a lifesaver so it was definitely worth it.
Step 2: Pump breastmilk!
Check out this converter that enables you to pump directly into a small mason jar! Be sure to order 2 sets so you can double pump!
Step 3: Transfer breastmilk into your plastic free container of choice
Top tip: In general, store milk in 2-4 ounce portions. This helps prevent waste and makes for quicker and easier thawing. You can always thaw more than one container, but once you thaw the milk, you must use it within 24 hours.
You have 3 options for plastic free storage containers:
Option 1: small mason jar (4 or 6 ounce)
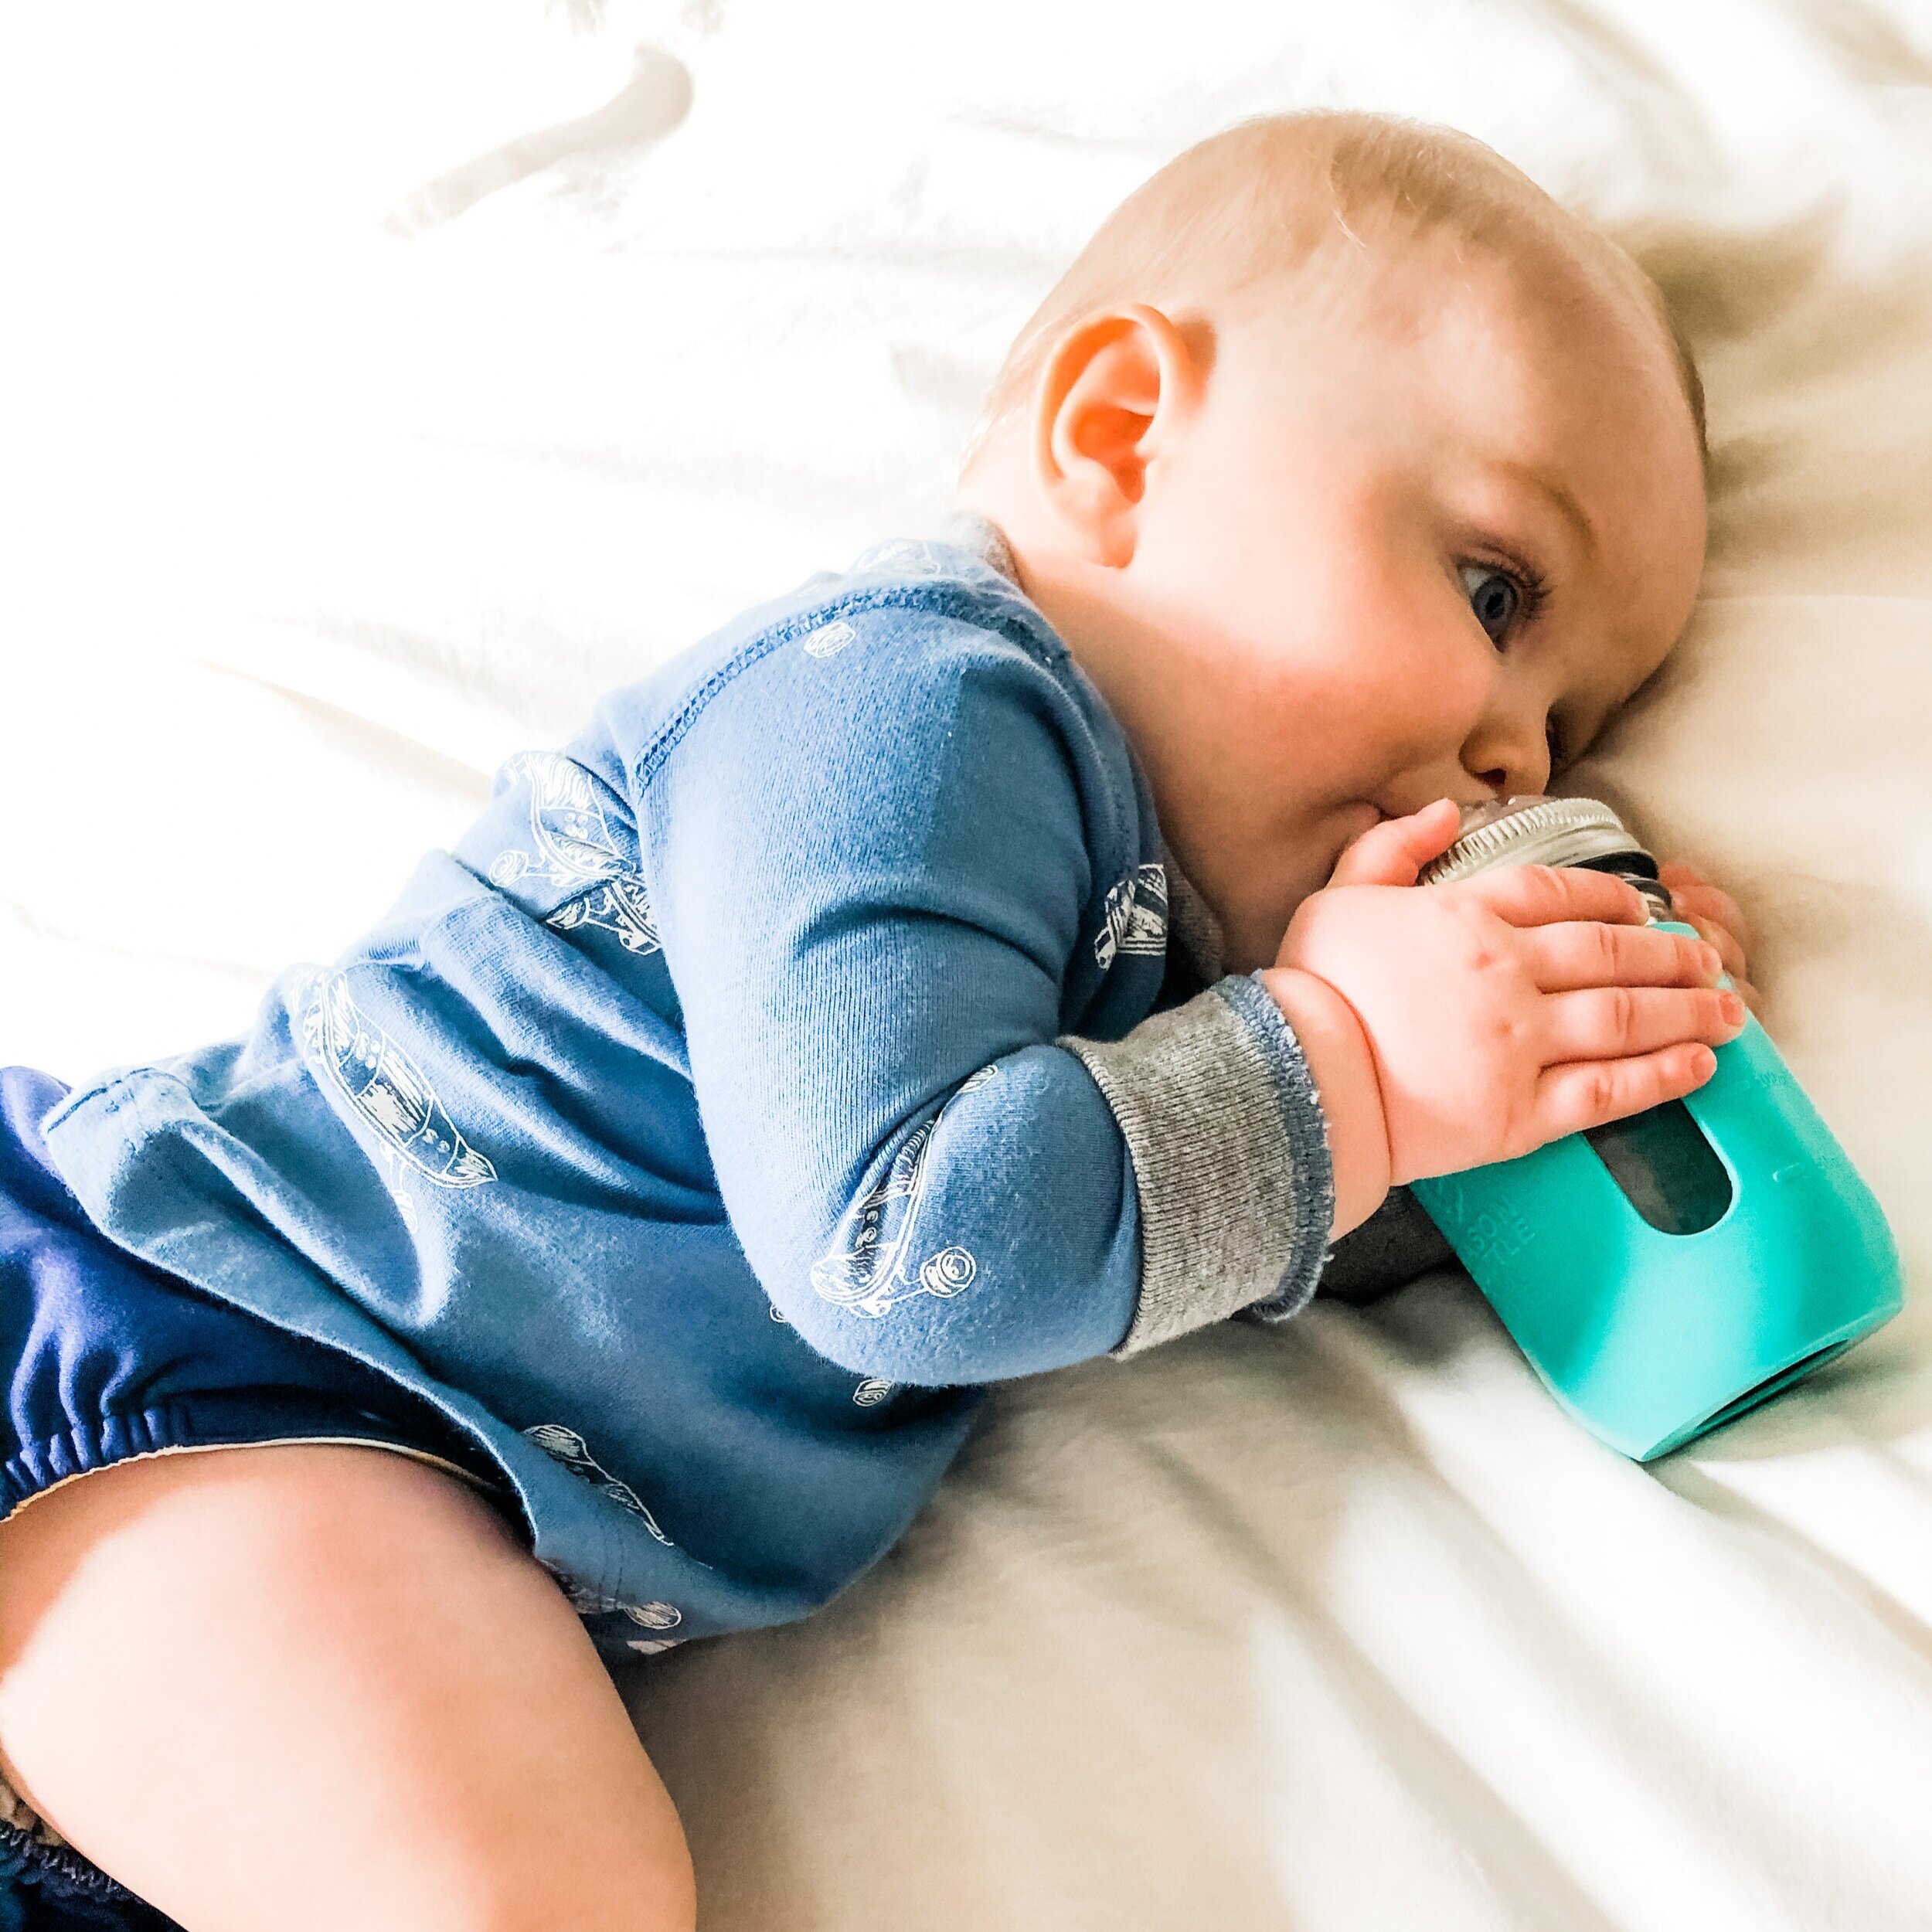
I love 4-ounce mason jars. Mason Bottle makes great writable silicone mason jar lids. Because conventional mason jar lids contain BPA, these silicone lids are a wonderful and safe alternative. They’re not suitable for long-term storage or canning, so use them only for shorter storage times. For longer term storage, get BPA-free lids.
When storing breastmilk (or any liquid) in glass, leave room at the top of the jar because breastmilk expands when frozen. (If you don’t leave room for expansion, the glass can break).
A downside to storing in glass is that the jars take up a lot of room. Depending on how big a stash you want and need, it might not be feasible to only use glass.
Option 2: Silicone breast milk storage bags
A few brands makes silicone bags specifically for breastmilk.
Zip Top makes a set of silicone breastmilk storage bags with a stand to hold them. Haakaa, Junobie, Momcozy, Purifyou, and Nuliie are other options. Make sure to store them upright. Using a container in the freezer to keep the upright is advised.
These bags can store up to 6-8 ounces, so they’re a great plastic-free option if you don’t want to use glass and want to store in larger quantities. Plus, like mason jars, you can use them for food storage (i.e., DIY trail mix, cut veggies) when you finish breastfeeding.
A downside to silicone bags is that they aren’t readily recyclable (though you can use them for toddler snacks and other food storage!) and they are expensive. Depending on how many bags you need, it might be prohibitively expensive to only use silicone bags.
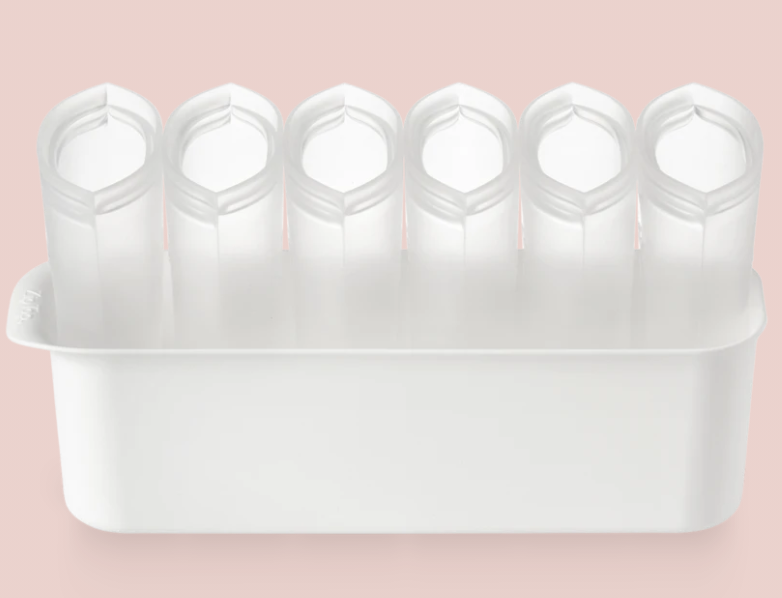
Option 3: silicone ice tray
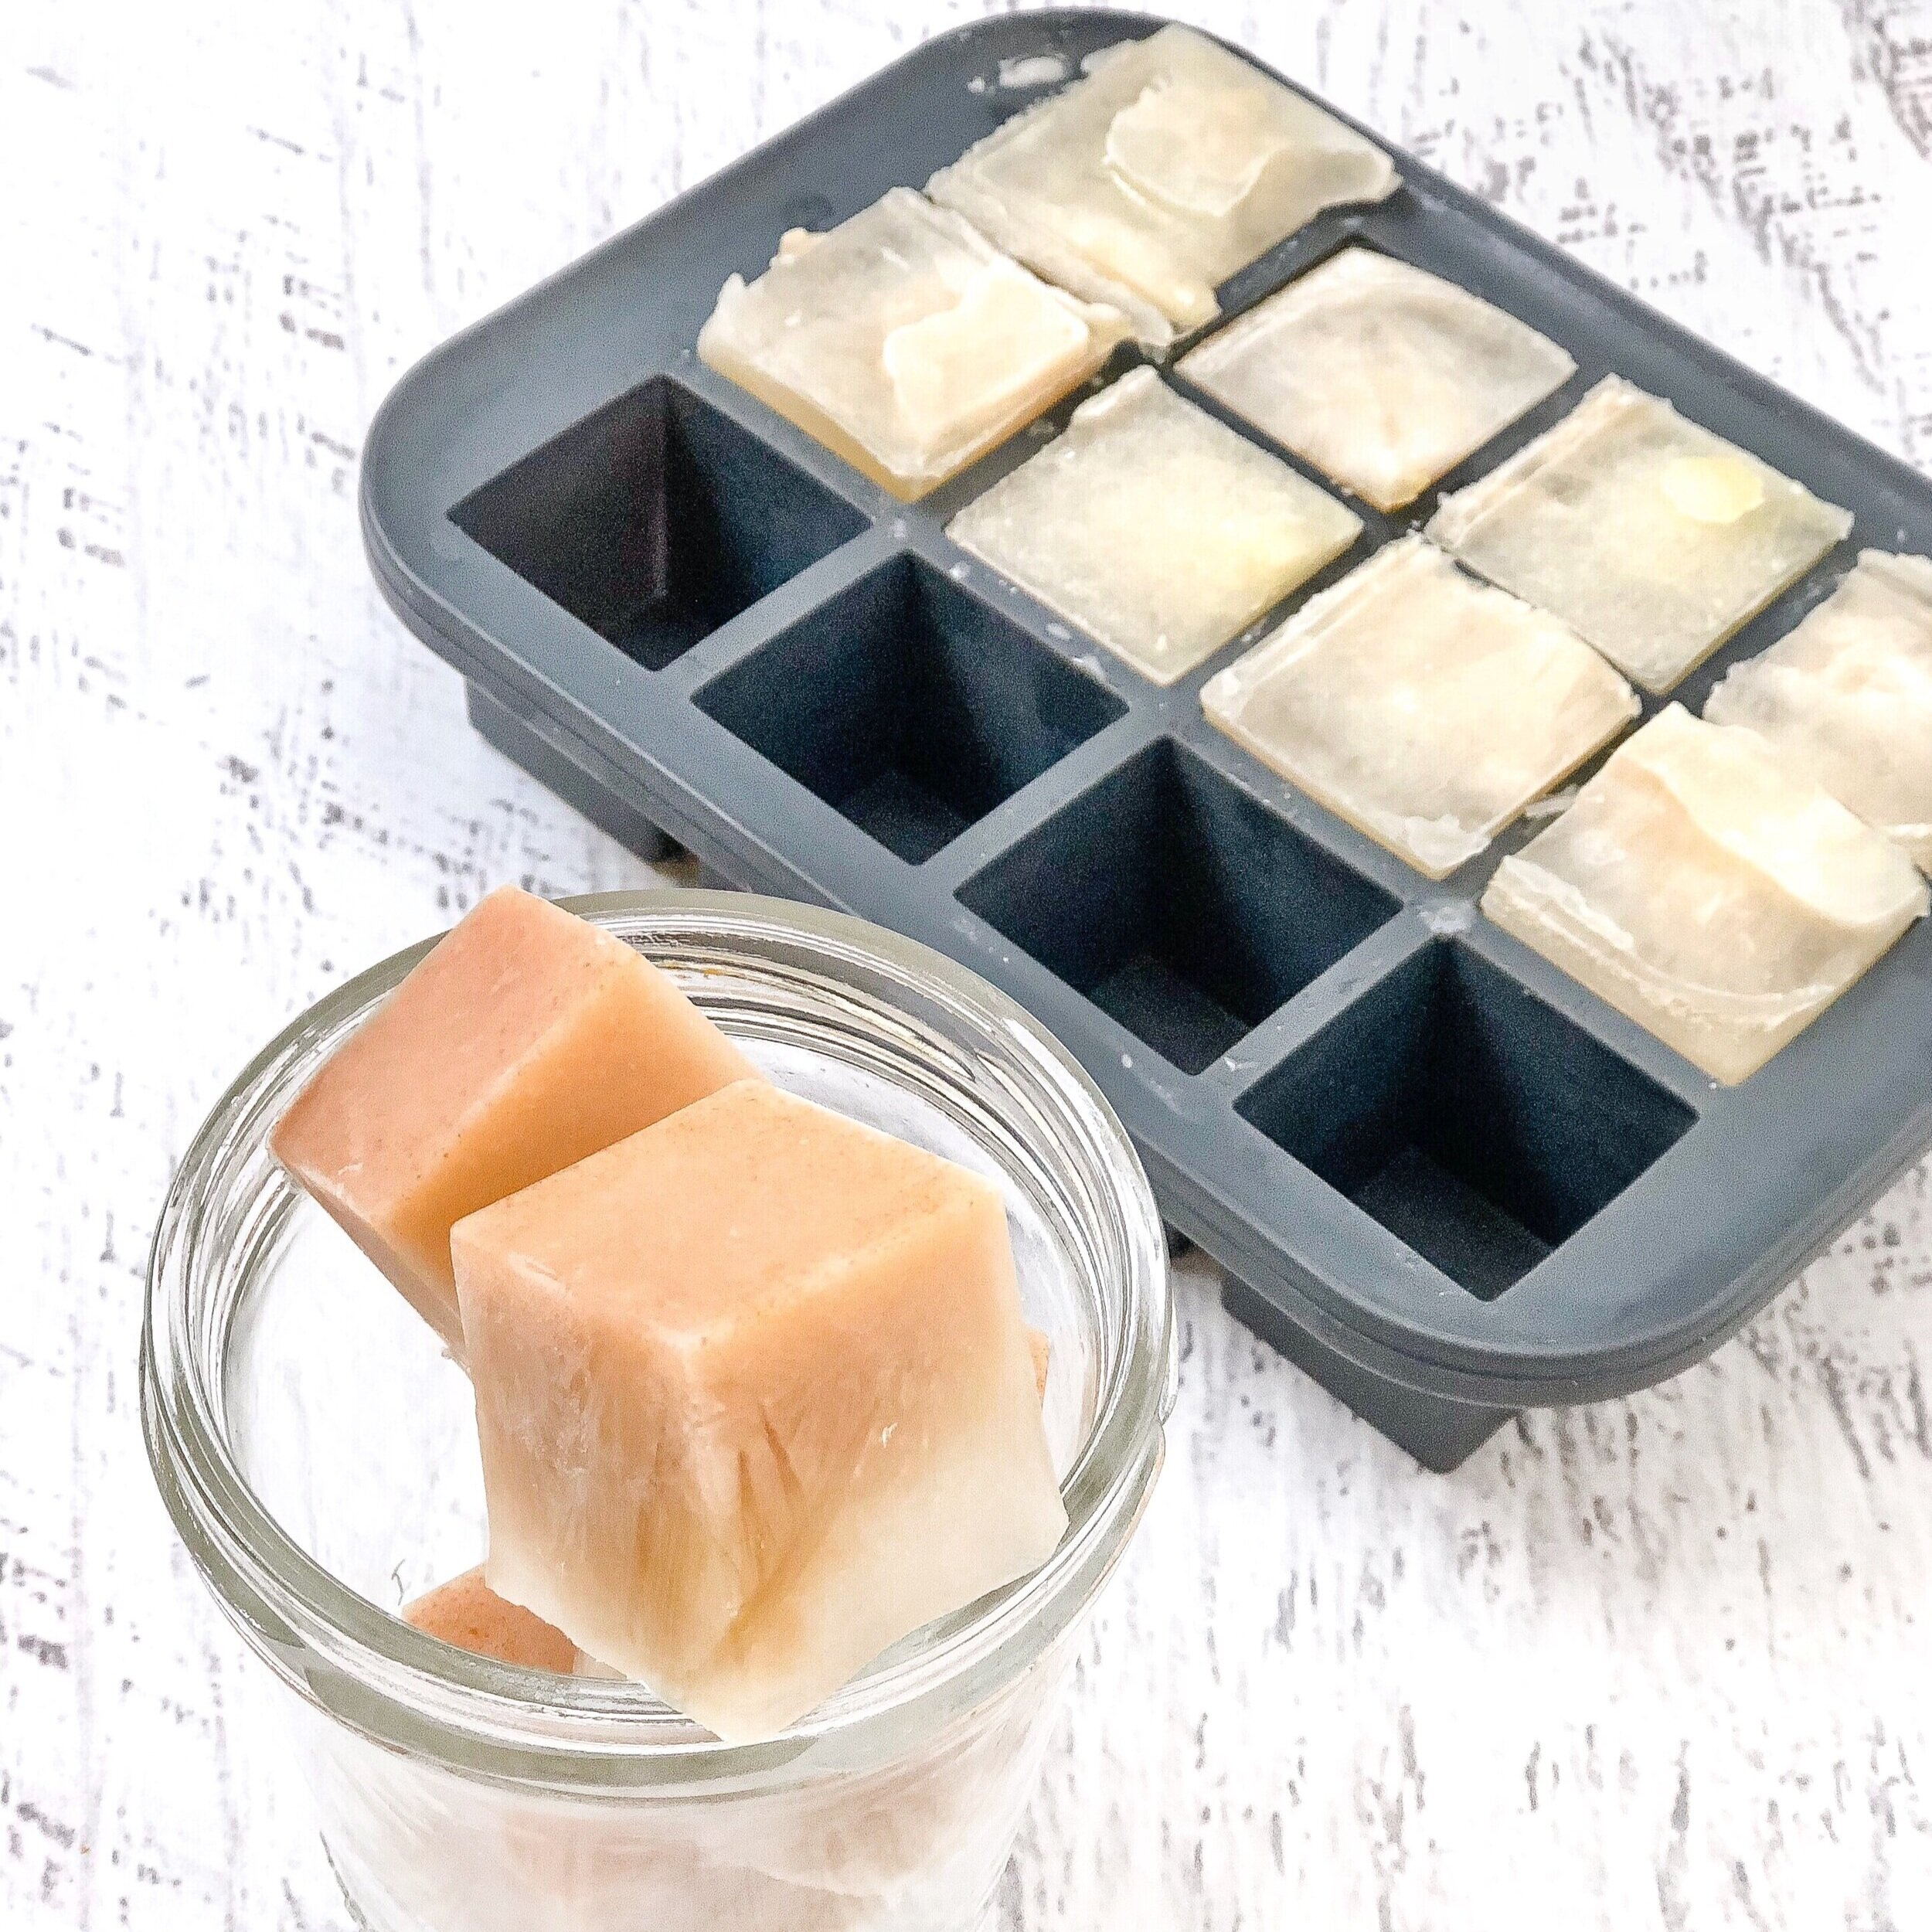
Note: This is not breastmilk, it’s almond milk. I didn’t want to risk ruining precious breastmilk for the photo!
Pour breastmilk into silicone ice tray and carefully transfer the tray to the freezer. Tiny Tot Innovations, WeeSprout, and HIWOOD make great trays to use for breastmilk. Once frozen, transfer the breastmilk cube into a silicone bag or glass container, removing as much air as possible. This option is best when you don’t plan on freezing the milk for long periods of time and want manageable portions for easy thawing and use.
Step 4: Label with date and store in refrigerator or freezer for designated amount of time
Check out the chart below for safe storage guidelines to make sure you’re storing the milk at the proper temperature and for a safe amount of time.

*Never refreeze breastmilk that been thawed.
**Breastmilk loses nutrients (including vitamin C) over time so it’s always best to use it sooner rather than later.
***When using the breastmilk cube option, include date range on bag.
Step 5: Baby’s hungry, so it’s time to thaw and use!
Remove frozen breastmilk from the freezer and transfer it into the fridge to thaw. (If using the cube method, transfer the cube(s) into a wide mouth bottle).
To heat up for baby, transfer the liquid milk into a bottle and place the bottle into a bowl with warm water (up to 104°F is recommended to preserve the milk’s nutritional quality) until the milk is at the desired temperature.
If you don’t have time to thaw the milk in the fridge first, skip right to placing the container with the frozen milk into a bowl with warm water (not too hot or the glass can break!). It will take a bit of time so be patient.
Note: The benefit of using mason bottle jars is that you can freeze and thaw the milk in the jar and then use that same jar as a baby bottle using Mason Bottle’s products. This is one reason Mason Bottle bottles are my favorite glass bottles.
FAQ:
I’m already using plastic, what do I do with the plastic if switching to plastic free?
For the frozen milk you currently have in plastic, use it as you normally would. (I wouldn’t heat up the plastic bag in warm water though. Transfer to a glass bottle once thawed). You can either use up the remaining plastic storage bags that you have OR recycle them wherever you recycle soft plastics (TerraCycle’s plastic waste box is an option).
Can you combine milks before freezing for storage? I have some 4 ounce and some 1 ounce!
Yes! You can combine breastmilk from the same day once the milk is at the same temperature. For example, if you have breastmilk in the fridge and also have freshly expressed milk, place the fresh milk in a container in the fridge. Once that milk is cold, then you can combine it with other milk in the fridge. Try to only combine milk from the same day or so!
I hope this helps you store your breastmilk plastic free! Let me know if you have any questions. I’m here to help.